Thursday, March 15, 2012

STITCHED HEARTS!

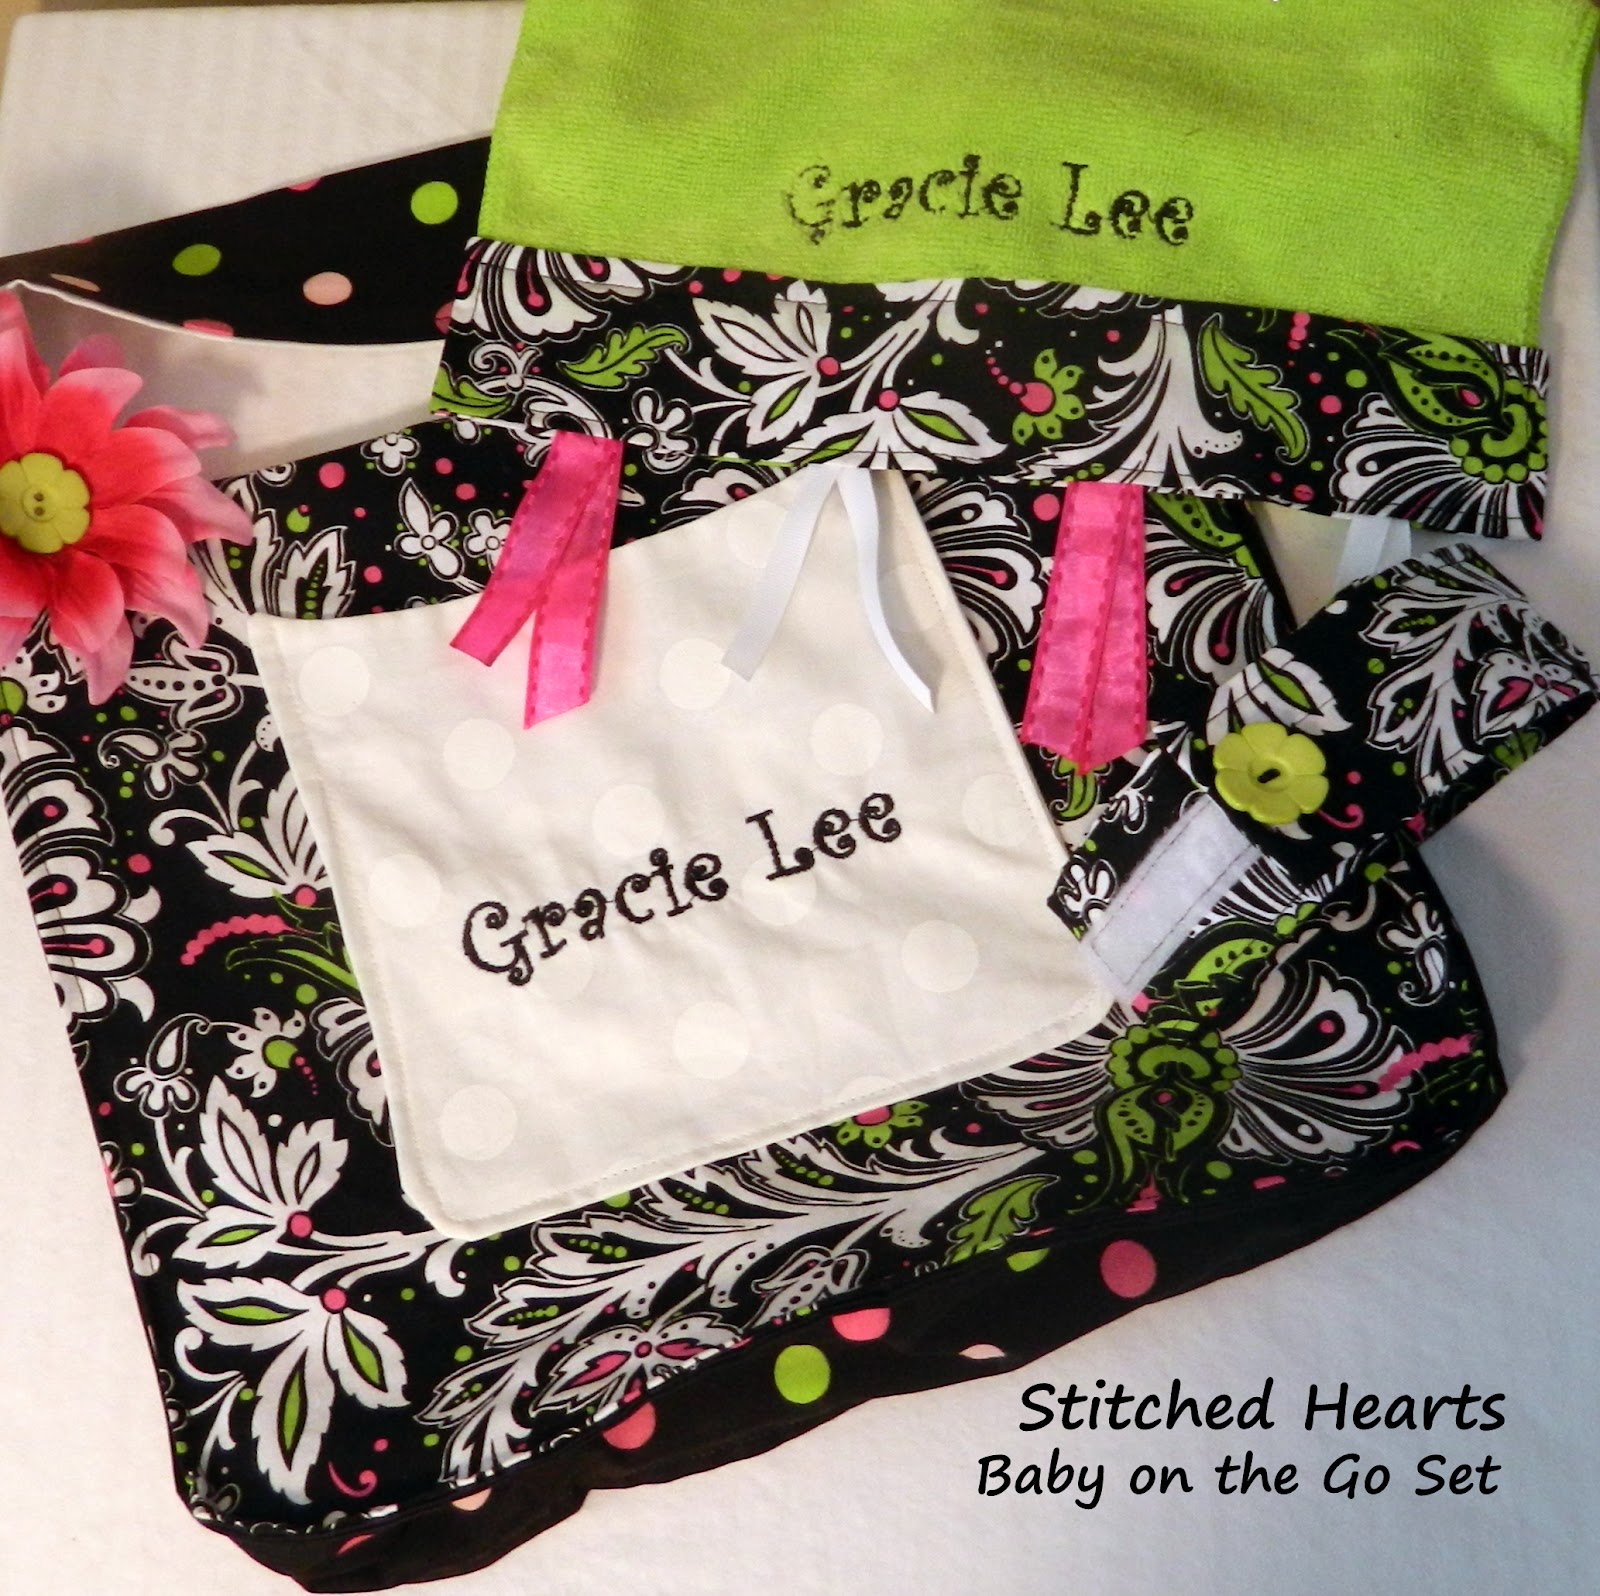
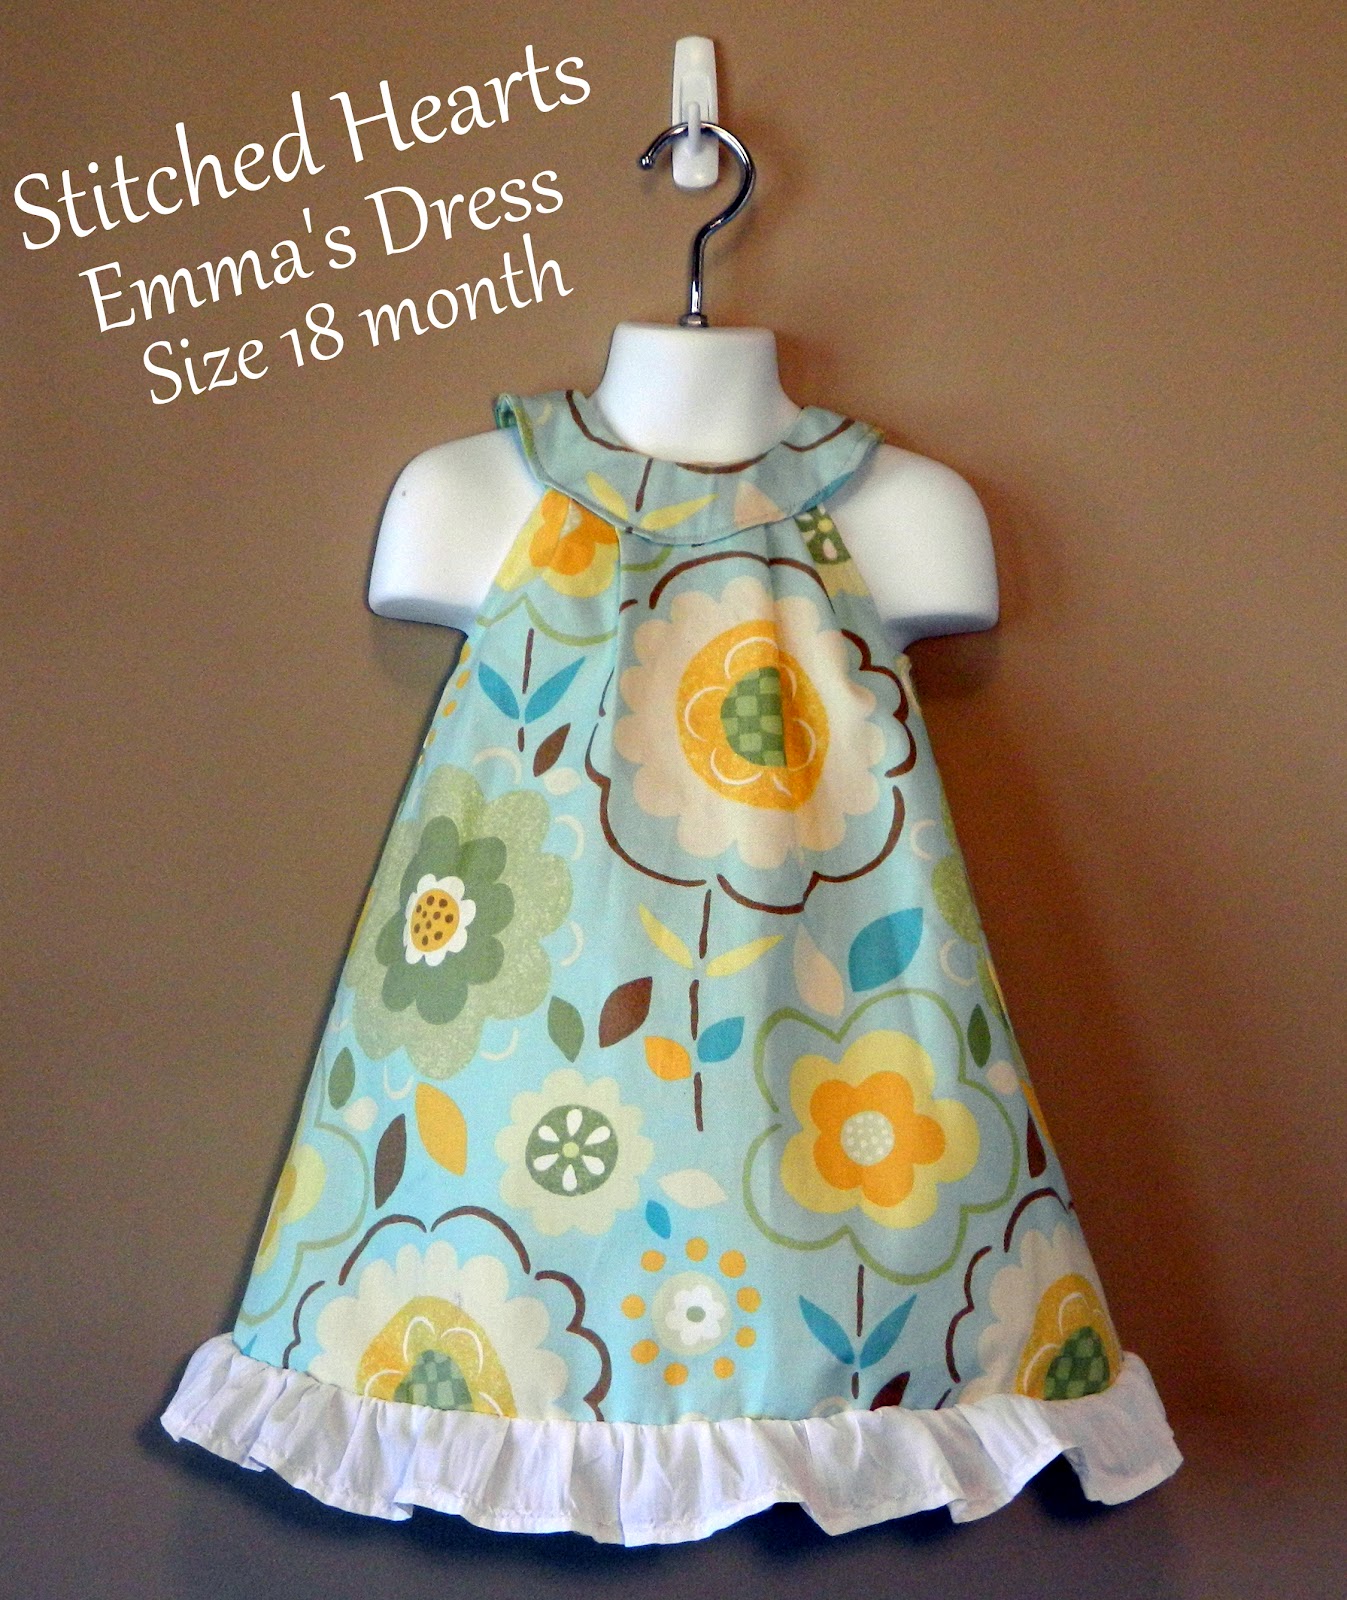
Over the last month, I have teamed up with two other women that I have recently met and we have started a small business. Each one of us specialize in their own hobbies. Just want to show off some of the amazing work by the other ladies.
Christie does some amazing tutu sets and dresses. Her work has shown to be very creative and classy. I love her ideas. Taking tulle to a whole new level. I can not wait to see her next projects either.

Jhordan is our talented crocheter, if that is even a word! She is always coming up with her "next" project and they are always better then the last. Her work is breath taking to say the least.
She loves doing special beanies and new born outfits but you never know what else she can do. Shoes, socks, skirts, shirts.... before you know it she will have made a whole outfit.

I am the sewing one of the group. I LOVE making girls dresses and outfits. My top priority is, "If I wouldn't let my child wear it, then I am not going to let your child wear it." I sit around drawing up my next creation day in and day out. That is one reason I love being with these girls cause we can bounce ideas off one another all the time. So here is some of my work.
I hope you like what you see! You can check us out on facebook 
or we in the process of getting our website up
www.stitched-hearts.com

Country Home

My kitchen windows

All I did was pick 2 different fabrics and cut them into strips  and KNOT!

Quilted "square" place mats 

Love these place mats on my country table.
So moving into my new house, I had to add some new things. By adding new things... I mean MAKE new things. My house is decorated with some country details. I don't know what you would really call it. It is kinda like contempt country , I GUESS! Is that even a look? Who knows. Well I just wanted to show off some of my work.

Thursday, December 15, 2011

To all SUPER MOMS!

I found this blog and I thought I could have died with laughter while reading it. I try to be upbeat and non violent all the time but to be honest we all have those moments all most every day that we would like to punch someone in the throat. Whether we voice that opinion or not.

People I want to punch in the face blogged about Elf on a Shelf
http://peopleiwanttopunchinthethroat.blogspot.com/p/who-is-jen.html?m=1

As moms I think we feel as if we are never the right parent for our kids. Feel ashamed that we can NOT remember to move that stupid Elf somewhere else. HAHAHA! Well to all those moms that hide behind your doors, not wanting anyone to bring up the Elf on a Shelf or anything else, you most read her blog. WE ARE NOT ALONE. Stephen and I forget almost on a daily bases, Melinda has decided that our Elf "Clumsy" is running low on Magic this year. Well I can't really tell her, "No baby it is just the fact that mommy just wants to pass out by the time you go to sleep." AHHH.... the joys of parent hood!

Friday, December 2, 2011

Wood Christmas Ornaments

Found an awesome tutorial for wooden Christmas Ornaments. I made some, well a lot! They came out great and I love them. Check it out....
http://todaysfabulousfinds.blogspot.com/2010/11/printable-paintstick-ornaments-tutorial.html


I hand wrote mine instead of printing them


You can make SOOOOO MANY and they cost close to nothing to make them. I already had everything that you need but paint sticks but like she says, if you go to Lowes or Home Depot they will just give them to you. 


I also went a little bit farther and made some for a Family tree that you could keep up all year. I had a scrapbook set that I fell in love with from Wal-mart called family

I just turned the star around (you can get it at Hobby Lobby in the small tree ornaments)
Instead of writing on them I used the punch outs that came with the set and some buttons I had.


Have Fun!http://todaysfabulousfinds.blogspot.com/2010/11/printable-paintstick-ornaments-tutorial.html

Christmas Tree Snow globes

Snow globes without the water....
I love snow globes but with kids, well they are not the best things to play with so I figured I would attempt to make a couple Christmas snow globes without the water and I little bit stronger glass. I turned to the mason jar.... I am country through and through and I love anything to do with a mason jar. My soap dispenser is even a mason jar! So here is what I bought....

I have different mason jar sizes laying around but if you need some, just go to wal-mart. You have to buy a case but you could use them all for gifts. 
You need:
Mason jars
Hot glue gun
fake snow
ribbon of choice
and trees ( I bought a 12 pack from K-mart 
that has all different sizes, these are for the Christmas village set.)
I spent $3 on the snow, $1 on the ribbon, and $6 on the tree. Not sure how much the mason jars are.

Ready to go....
First you need to secure the lid to the middle piece of the lid, for this I just ran hot glue around the top of the jar. I tried to do it around the inside but it does not work very well for some reason.
Hot glue the seam of the two pieces of lid

 Let the glue dry. While you wait add some fake snow to the inside of the mason jar. Do not add to much though, you want to be able to see the tree ;-)
To much of a good thing is not always a good thing!

Flip your lid over and hot glue the bottom of the tree to the center of the lid.
Hot gluing the tree down

Wow... your almost done and this has took no time what so every! When the tree has dried turn it over and screw the lid on to the mason jar. YOU HAVE A SNOW GLOBE!
I decorated mine with adding some ribbon with a bow to the lid. This way you can still unscrew the lid if needed or you can add some extra hot glue and secure it. 
My big snow globe

My family of snow  globes


Tuesday, November 29, 2011

Christmas Fabric Garland

So last week while I was doing my annual EVERY morning pinterest search I came across an amazing Christmas fabric garland that was being sold on etsy.com. Needless to say that most things I find on etsy, I at least try to make it before making the purchase. If I can't then I buy it but for the price listed, I was not willing to buy this one. So I planned it out and went out to find the material I liked that would match my country Christmas wonderland. I found it! I purchased 3 yards of material, a dark green with lighter green snowflakes (1 yd), a red and cream plaid (1 yd) and a country quilt pattern (1 yd).


You also need to buy some rope or cotton filler cord  5.5m is what I used. I also got a pack of american bells from hobby lobby. In all the supplies I purchased, I spent $12 on material, $2 on the cord and $3 on the bells. So for $17 you can make a 8 ft garland. 

Cut your fabric in half at the crease and also cut off any ends, most of the time it is white colored that shows at the bottom and top of the material. Cut every 2 in from the middle crease that you cut, this should make 36 strips in all with one yard of material. 


Now cut them in half, depending on the material it will range from 6 in or larger. Mine ended up being about 6 3/4 in x 2 in strips. 

The strips of material after cut in half

OK so cut all your material the same way. You will have 72 strips of each material ending up with 216 in all. Now take your cord out and knot one side about 3 in from the end. Depending on how you will hang this, you might want to go further into the cord. Start knotting.

My pattern and knots

This is just a one knot each and then just push them together. The fuller you want the garland, the closer and tighter the knots need to be. I would say I did medium knots and just slid them close together but not tightly. Do note that if you want a fuller garland you will need to use more material for a 8 ft garland piece. 
Keep knotting, this really does not take long. It took me about an hour to put all the strips on the cord. When you are done, knot the end. 
Now the bells I bought came with 6 bells but I didn't want to place all of them on the garland so I just used 3. I folded the garland in half and tied a bell around the cord with some small brown cord I had laying around. From the bell to the left side I folded that in half and placed and bell and did the same with the right side. 

My American Bells

Please note that if you are planning on wrapping this around your hand rail like I did, you might want to see if your bells will fit between the rail and the wall. If not you can hang them on the rail like I did or don't place the bells on there until you get the garland wrapped.

Now hang and enjoy!


Finished Project

Chore Board

So I had decided that we needed a chore board in our house. Something that everyone could look at and know what they have to do in the house that day so our house does not fall apart during crazy times, like the holidays lol. 
So I found a piece of wood that was already cut but kinda rough around the edges at wal-mart in the wood craft section. I bought some dark brown spray paint and got to work.


I only spray painted the sides of the board because that is all you will see. I also did not  sand paper it because that is a later step ;)

I found me a piece of scrapbook paper that I felt would be a great back ground with the brown edges and white paper. Cut it out to the size of the face of the board. That way you don't over lay the sides of the board.

My scrap book paper

OK so while that was drying I had to come up with a system. Figure out what everyone had to do everyday to keep up with the house. When I finalized that, I typed mine up in a excel spreadsheet so my list were even and Stephen and Melinda's in word. Printed it out on regular copy paper but it would have done better with card stock. Cut out the names and chore list with a craft knife and ruler.

I hope you can see the words. 

I also added a little note to go on my board that says " When your helping, everyone is happy"

This goes without comment because if all my family are doing there part then that is less for me to complain about :)

*More pictures to come of the final piece but I got so excited at this point I just through it together to see what it would look like done.

Grab your Scrap book paper and glue the names and chores where you want them on the page. You could also add your own quote of maybe a picture. After it has dried, take Modge Podge and a sponge paint brush, lightly cover the face of the board until it is smooth and fully covered. This will help not to get bumps in the paper. Carefully place the scrap book paper with chores already dried on to the face of the wood. Let Dry!!!!

After you have let it dry for at least 30 min, take some sand paper, anything you have laying around and softly go over the edges of the board and even across the edges of the paper. This effect is to give it a worn look and also if you sand the edge of the scrap book paper onto the wood, it makes it look painted on. Take your Modge Podge again and go over the WHOLE board. edges of the wood and everything. I went kinda heavy with mine. Also I used Matte Modge Podge not the glossy. I like the worn country look. Let dry and hang up. 


 Enjoy this cute project.